I had no idea how in the world geode cakes were made or what to think about them.
It looked kind of awkward to me, but the different shades of purple and the crystal look got me intrigued. Rachel Teufel is the cake artist who created the cake I am talking about. Here is a class she offers on the geode cakes.
Geode cakes are a huge hit on the cake industry and for us amateurs too. At first I thought it was a very complicated process and when I found a post showing you how to make a rock candy geode yourself that would take about a week I said ” I’ll come back later to this project” and put it off until…….
……until, until I thought maybe I could use some rock candy lollipops, smash them and use the little pieces of rock candy. The next option was to buy the rock candy in bulk and the first place I looked was amazon ( that is my first option, always).
Amazon is my Hero!
Now days it is incredible the amount of thing you can buy from amazon, right? Well the rock candy was not the exception.
You can buy rock candy in bulk from amazon, I think it is pretty awesome. You can either buy it without color or colored ( I like the purple one).
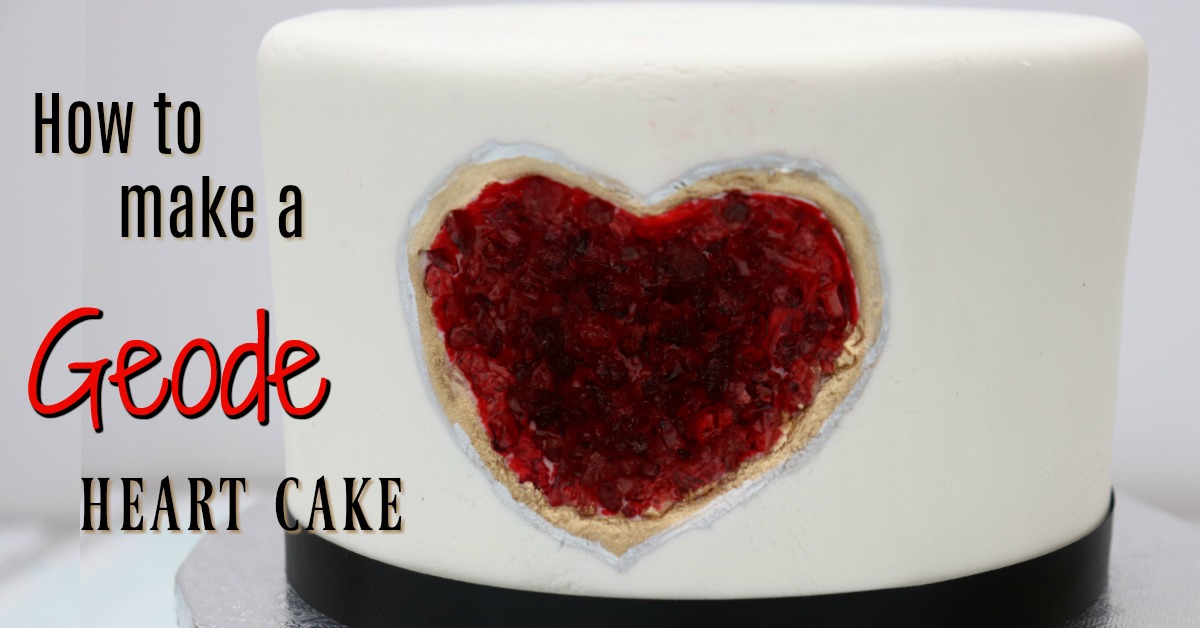
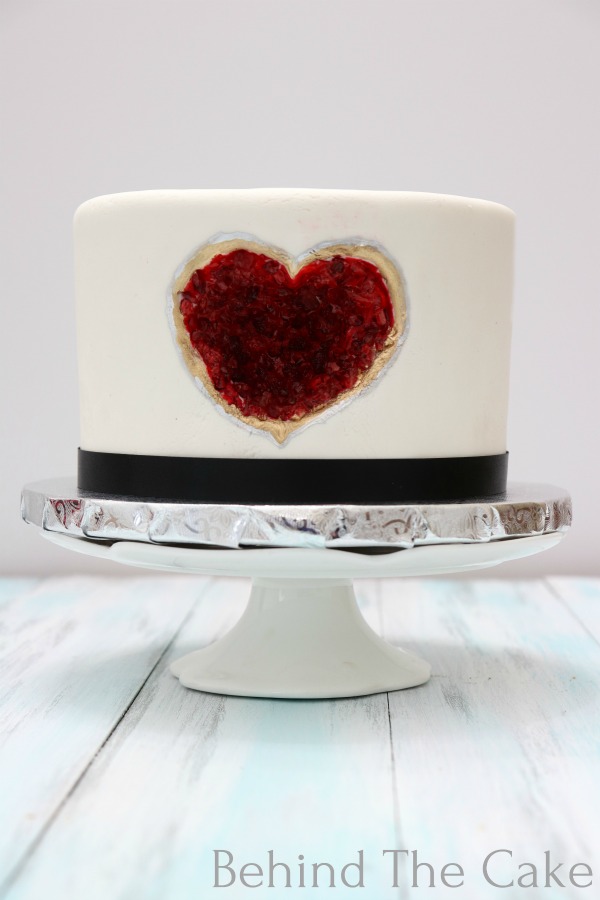
I personally like the white (no color) for my projects, since you can add the color (air brush color) at the end, just like I did with this Geode Heart Cake project.
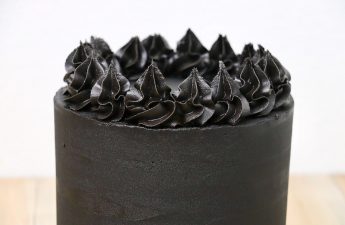
For the “gold” part of the geode I used an edible metallic paint, and you want it edible unless you will be using it just for decorations that will be removed before cutting and eating the cake.
Are you ready to make a geode cake on your own?
Just let me give you some pointer.
1.The cake needs to be chilled before carving, this make it easier to cut.
2.Cut a little bit deeper. Once you apply the bc and fondant the carved area is not as noticeable as when it was just cake.
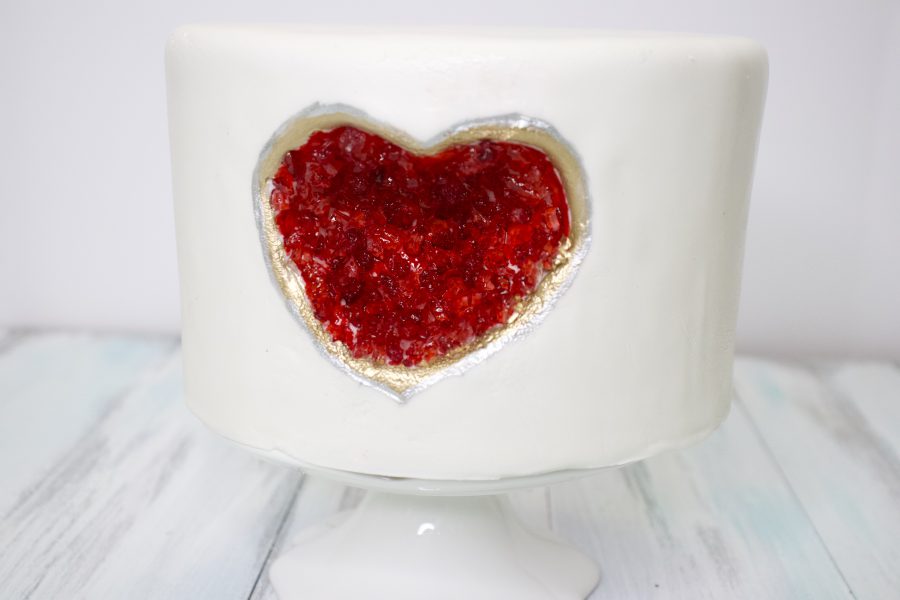
3.Be patient with the fondant when covering the carved area, it doesn’t need to be super smooth, anyway you will be covering it with the rock candy.
4.Push the candy rock into the fondant to really make it stick to the cake.
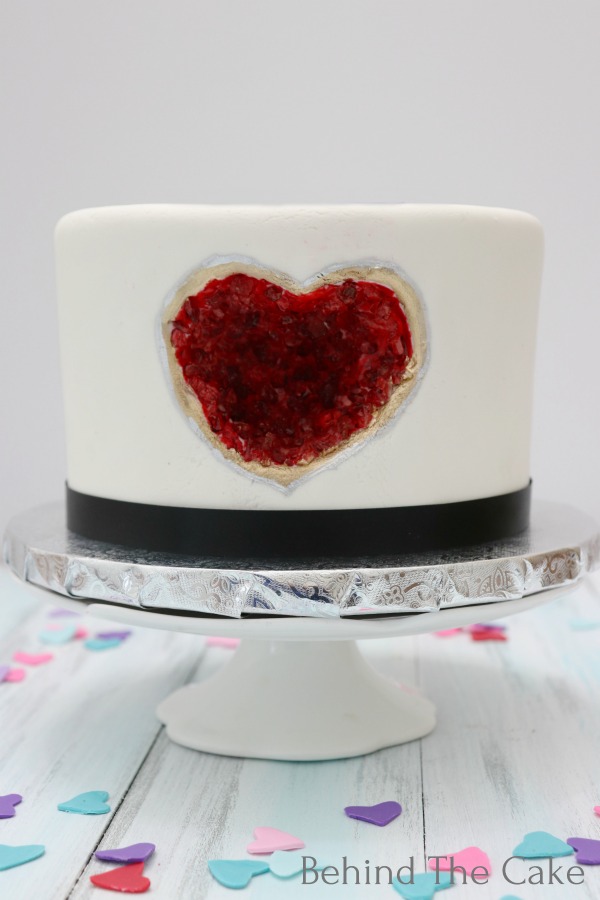
I used a vanilla cake (here is the recipe), iced with SMBC and covered in satin ice fondant.
Note: If you can wait for the fondant to arrive and pay less check www.webstaurantstore.com, I buy mine from them.
Words of wisdom:
You can either be a host to God, or a hostage to your ego. It’s your call. – Wayne Dyer
Thanks for reading, leave a comment or a question down below. Vero
[ultimate-recipe id=”496″ template=”default”]